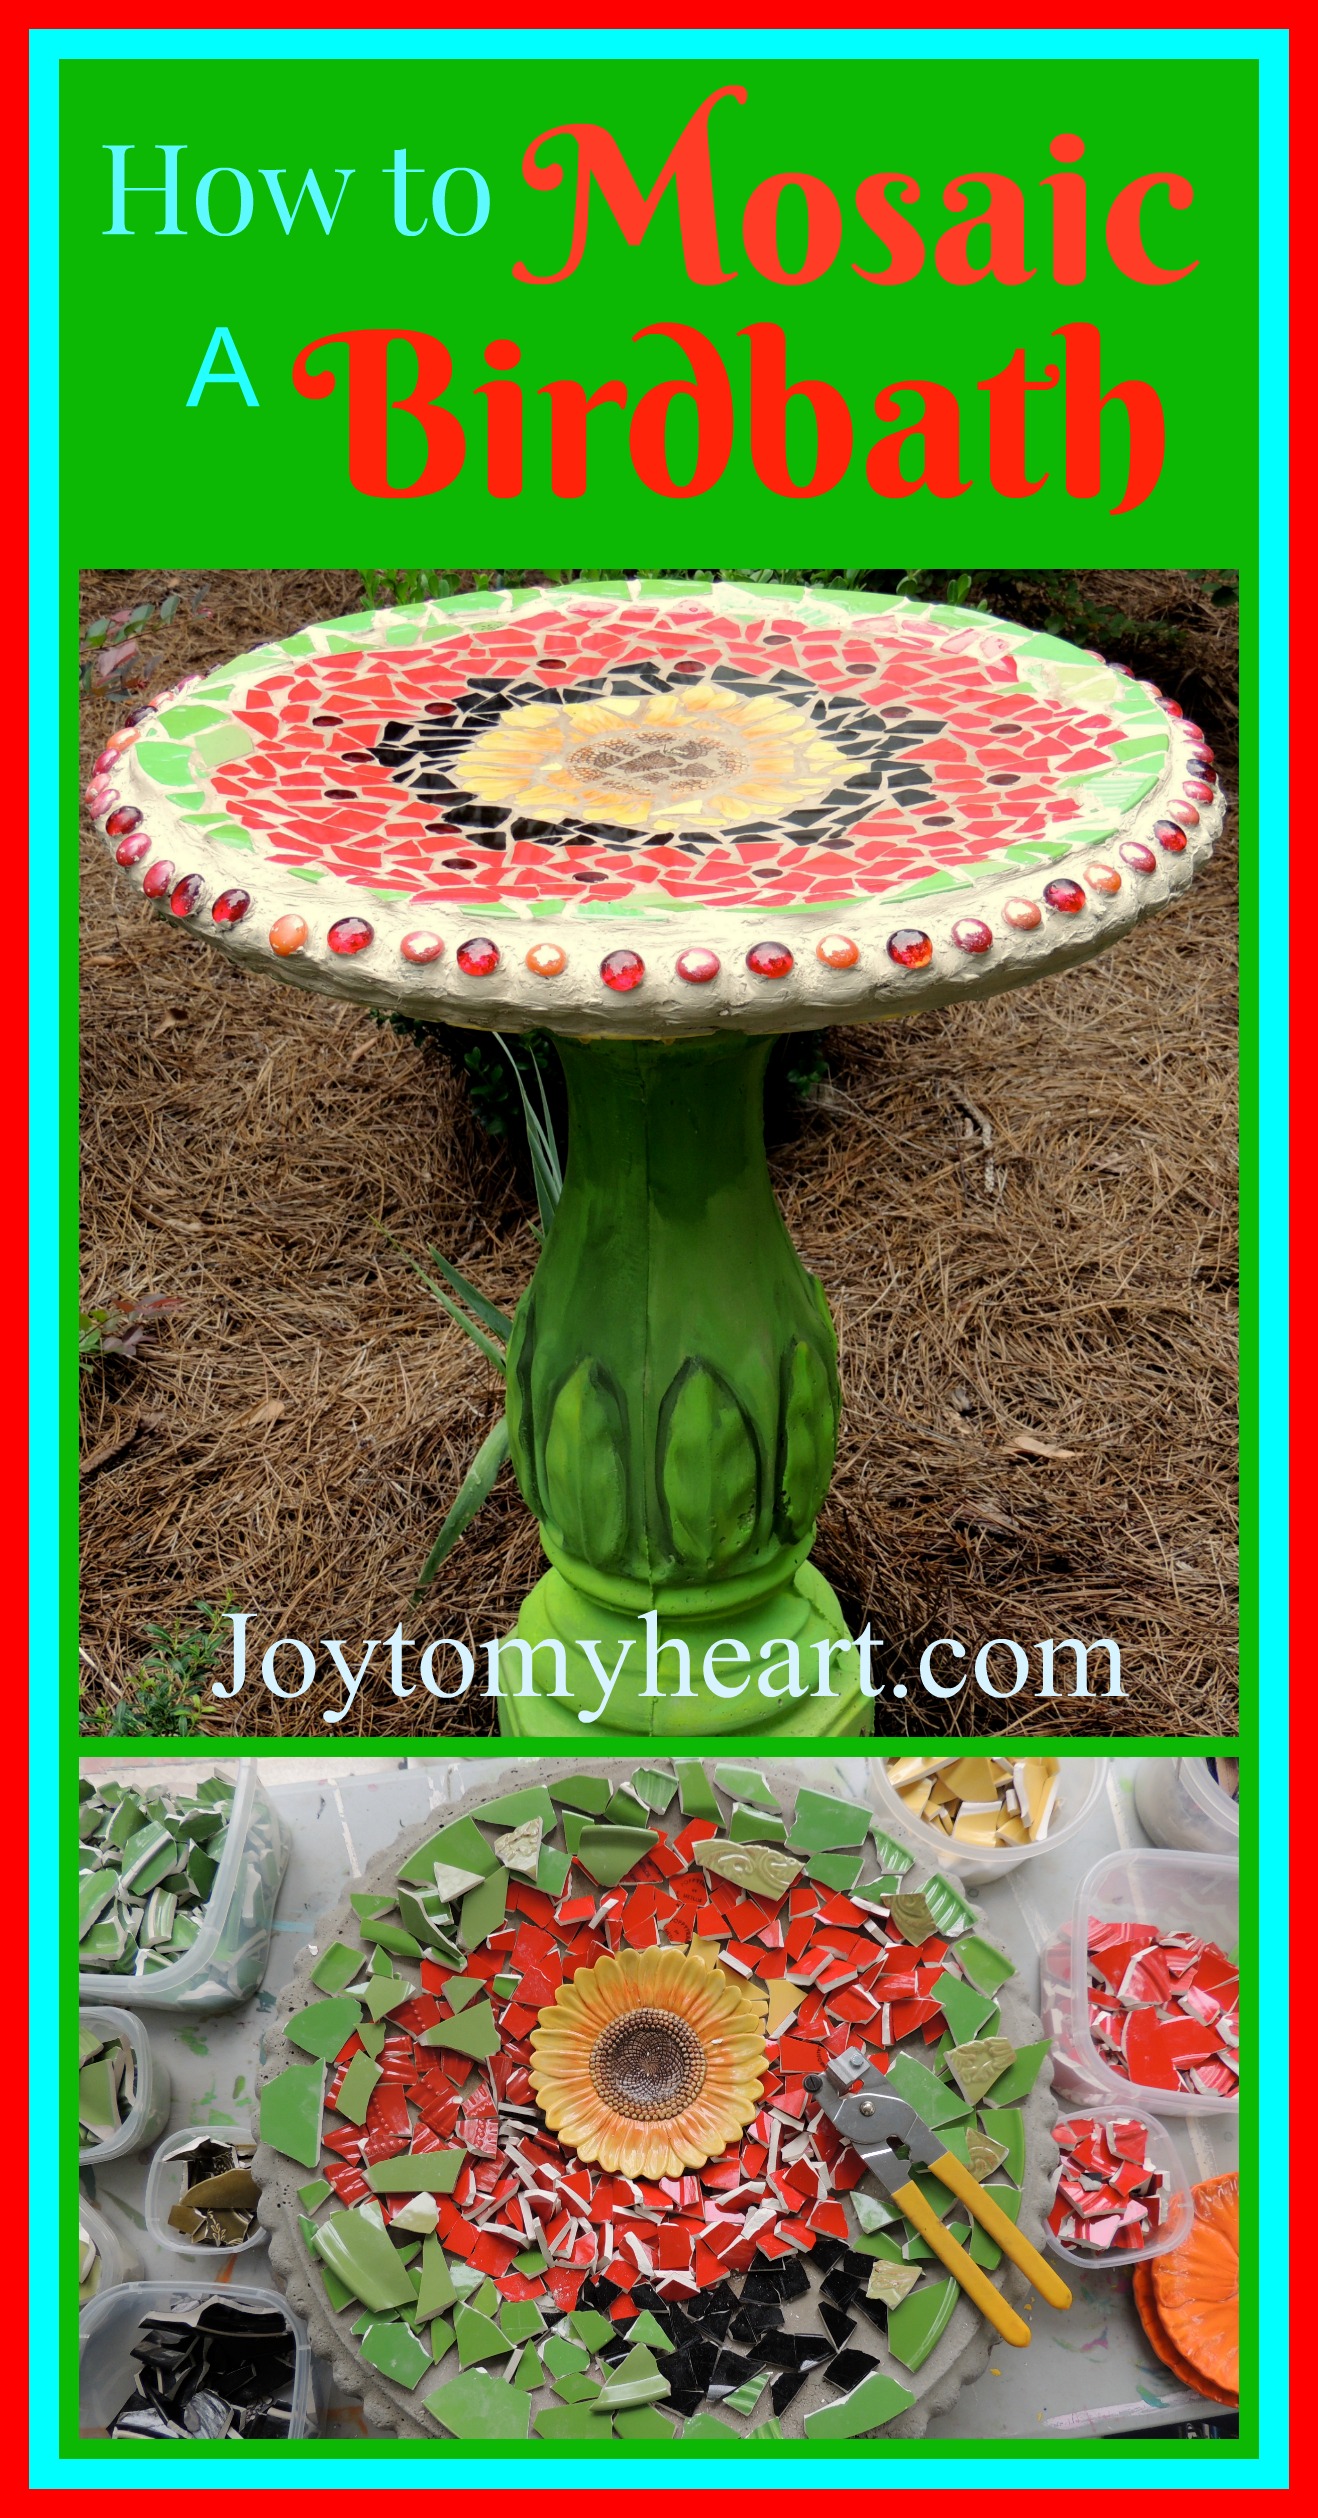

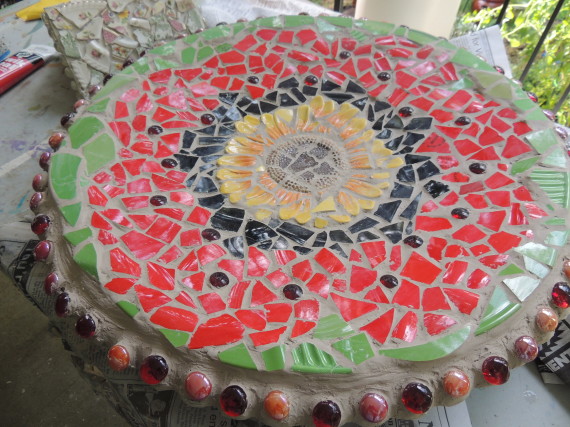
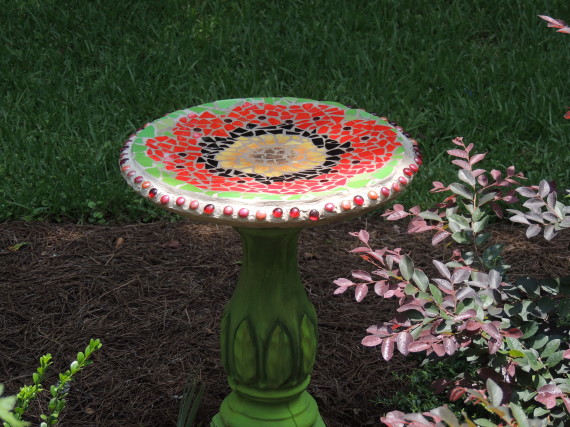
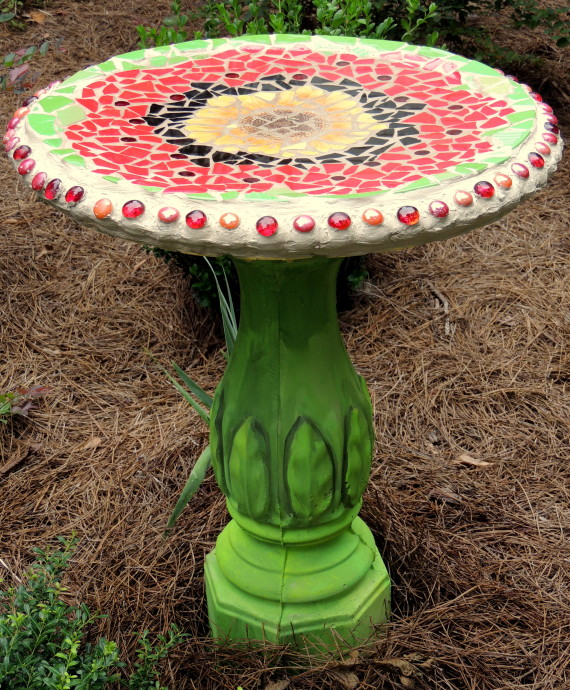
Finally, I finished my Mosaic Poppy Birdbath. We placed it near my hummingbird feeder in the flowerbed. It is stunning. I love it. I bought the cement base at Home depot and came home and painted it to match. Time I saw the leaves on the base I knew it was the “one!” After all, it is the stem of my flower…
Several years ago, I did my first Mosaic Birdbath~ It was fun to do, but very time consuming.
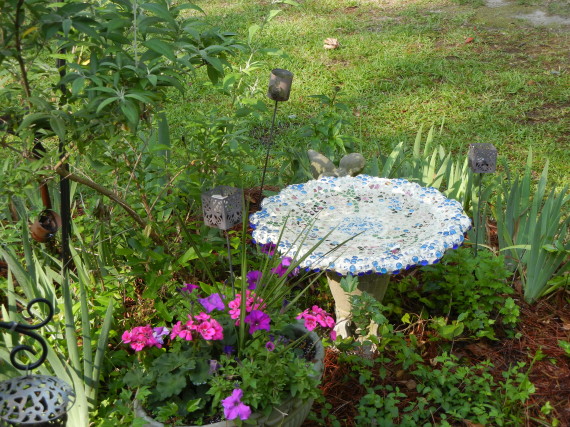
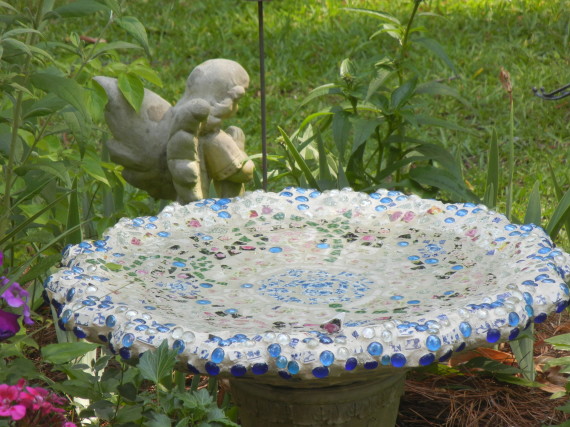
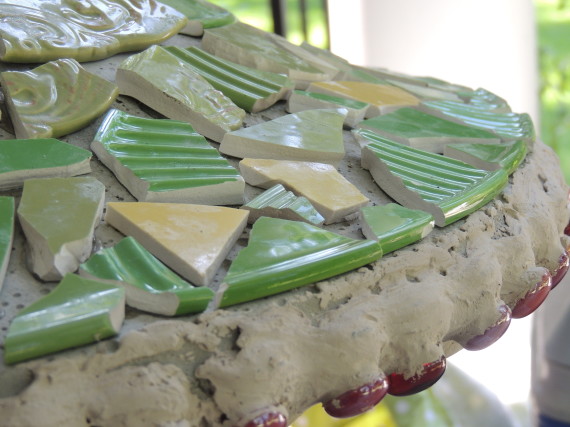
This is the very first mosaic birdbath. It reminds me of my grandmother’s quilts. Love the colors.
I learned that even tho I love mosaics…I really don’t have the patience to deal with tiny little pieces. So this time I made them larger and that made it go fast.
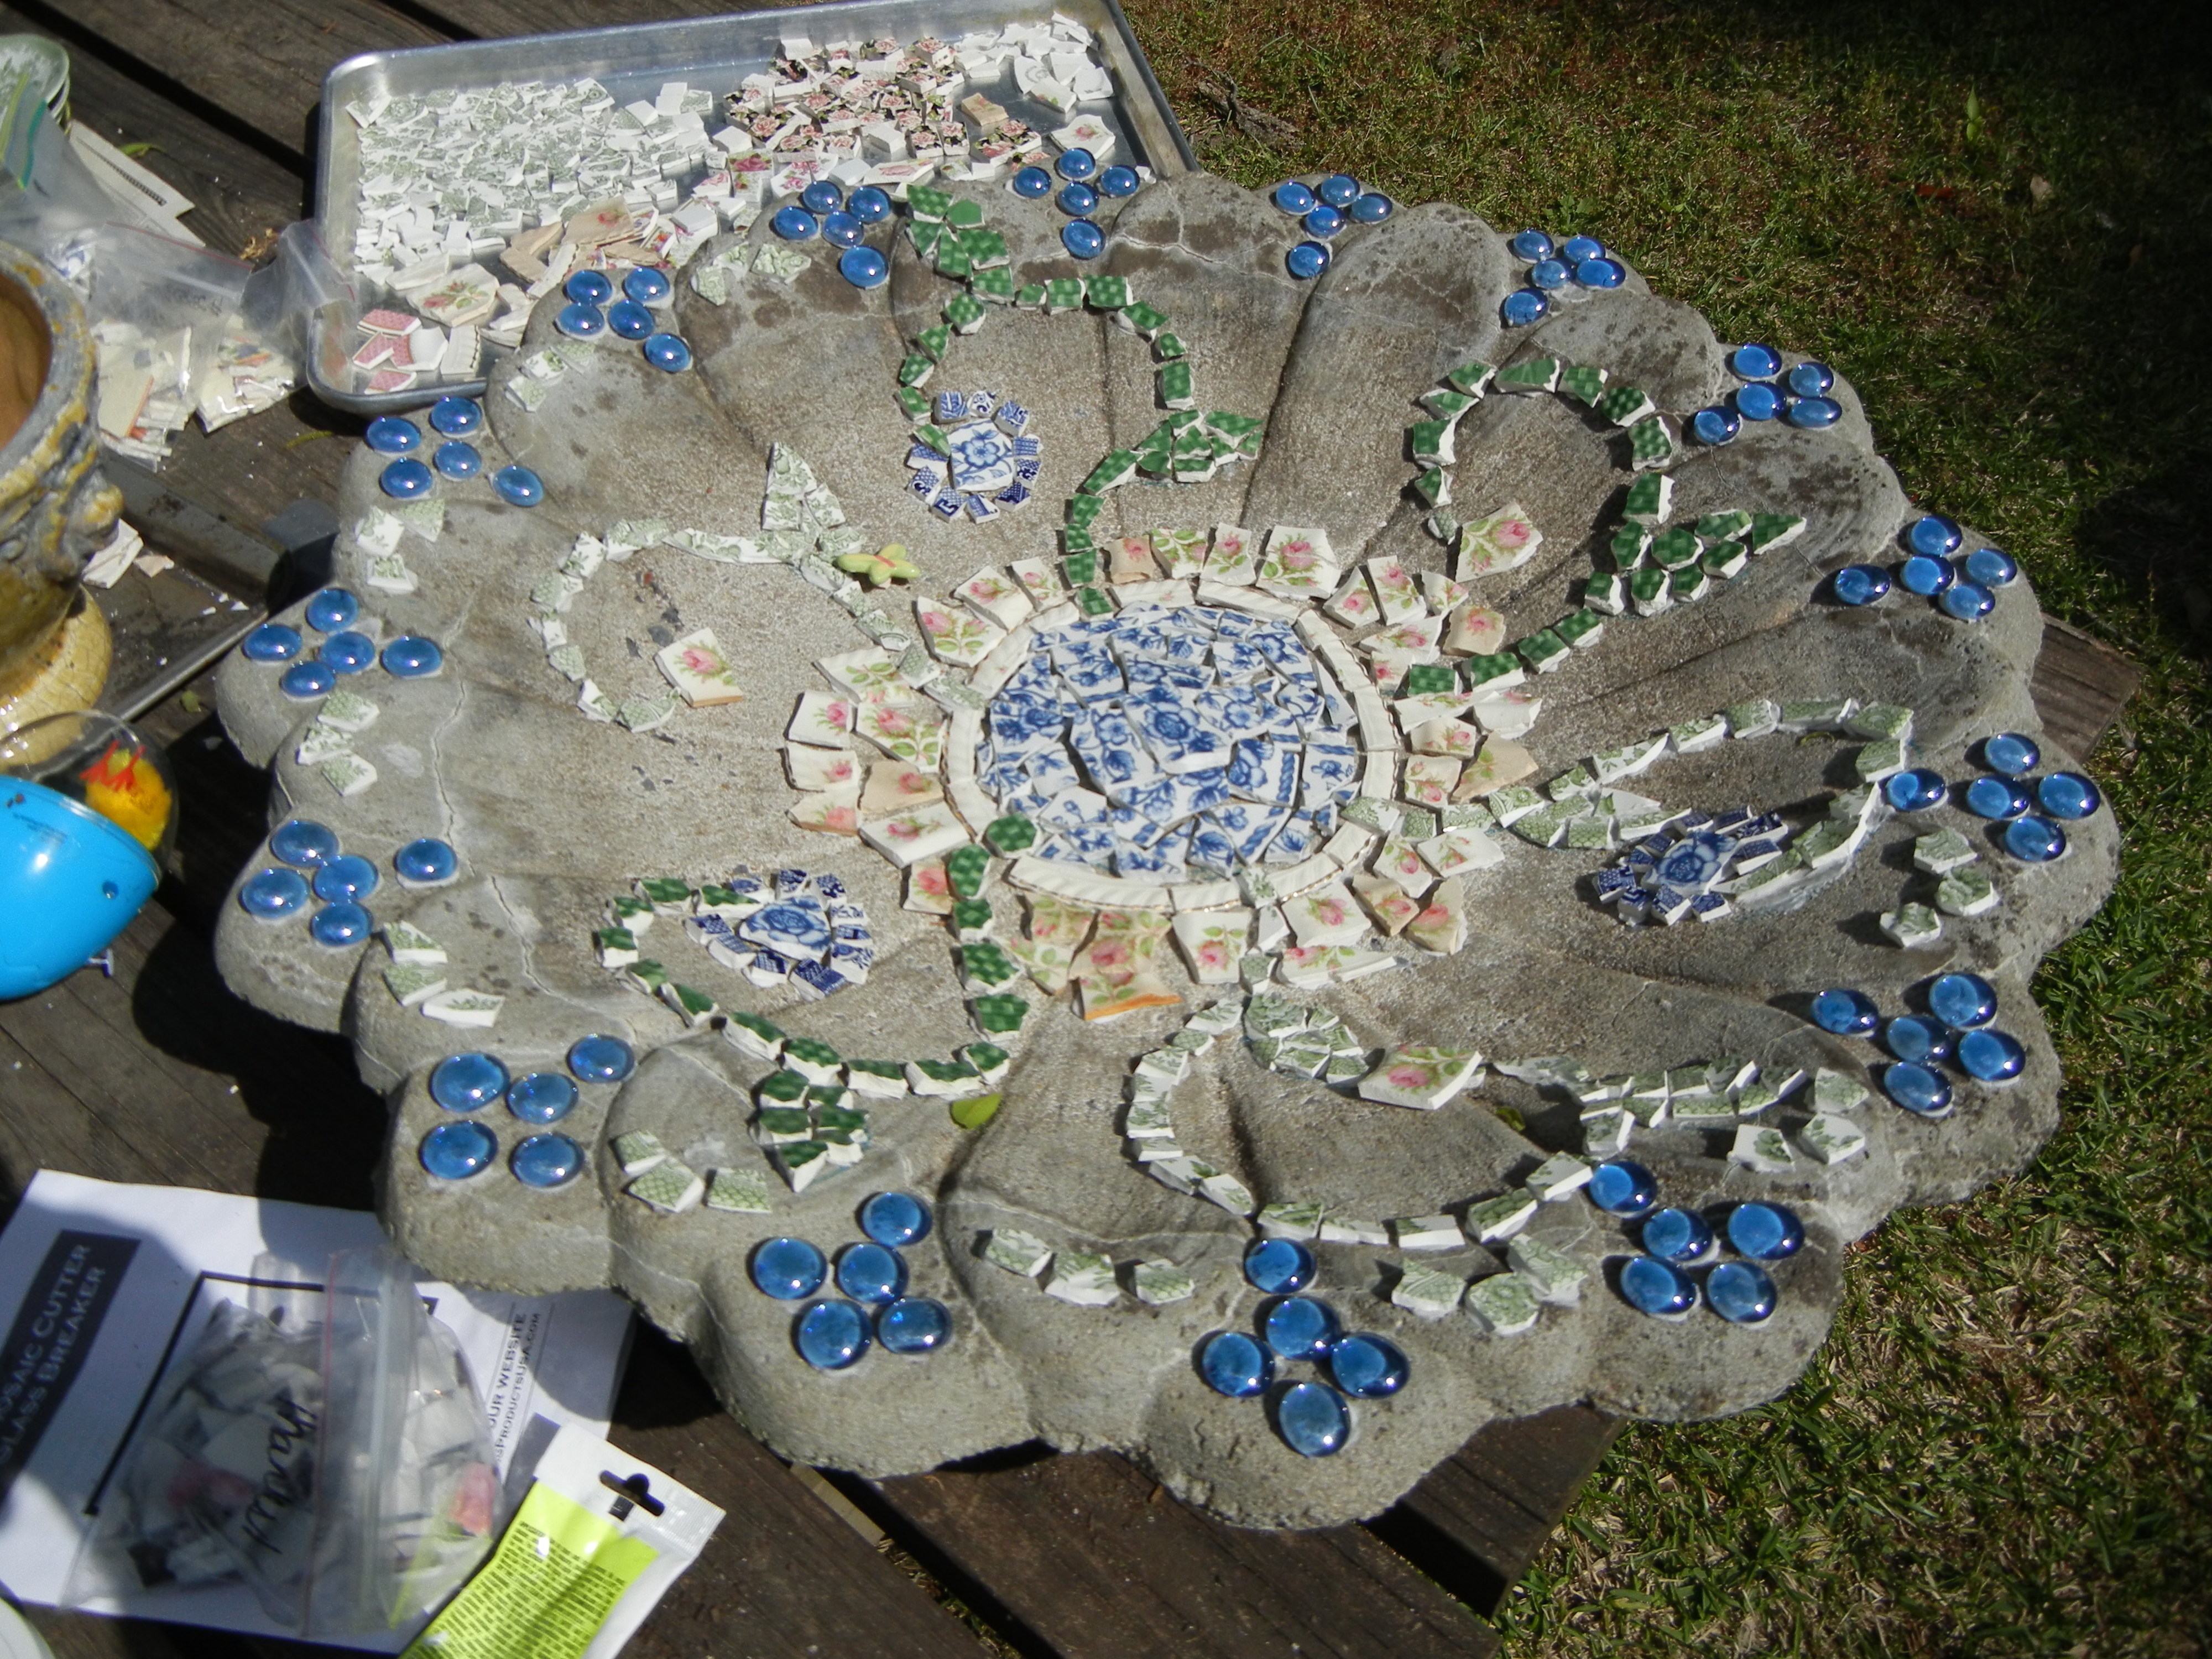
See how tiny these are? Not too many posts ago I wrote about getting ready mosaic…now let me tell you how easy this is…
Begin by deciding what you want to mosaic. Anything will work, just about. I have done birdhouses and birdbaths. Clay pots, planters, picture frames, shoes…use you imagination! I would suggest you begin small and something that is rather flat. A clay pot would be a nice beginner project. Or a tray. Gather your plates or mosaic tiles.

Along with plenty of plates or tiles you will need nippers, a ruler, tape, sharpie or pencil, glue, goggles and grout.
Decide what design you would like and roughly draw onto the surface. To begin with you may only want to have a random pattern…or no pattern at all. Don’t forget your goggles to protect your eyes from flying shards!
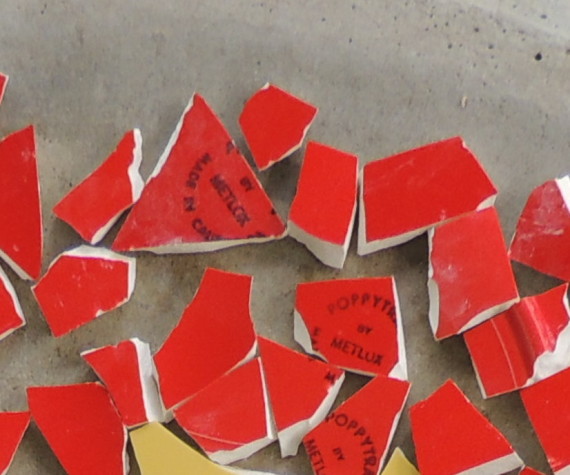
Next place your plates, one at a time, into several layers of plastic grocery bags. Lay them on a concrete floor or bricks and tap them with a hammer to break. I said TAP. You don’t want a lot of powder which is what you could get if you TAP too hard! If pieces are not exactly the size you want, you can re-tap or shape them with tile cutters or nippers.
I discovered…ok, my husband discovered… that the circular ridge that runs along the bottom center of the plate can be flattened, simply by sanding it on the cement. It is easiest using flat backed tiles, but not necessary. He was a huge help…
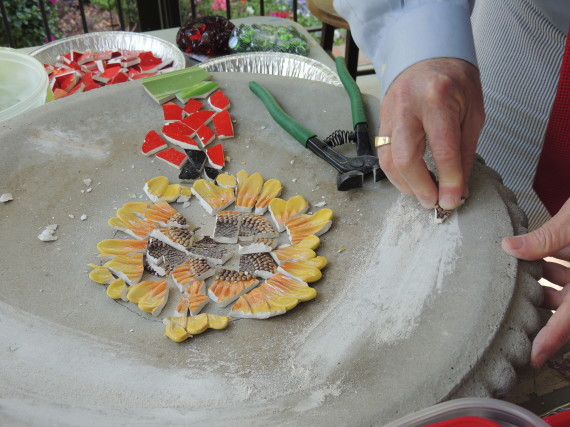
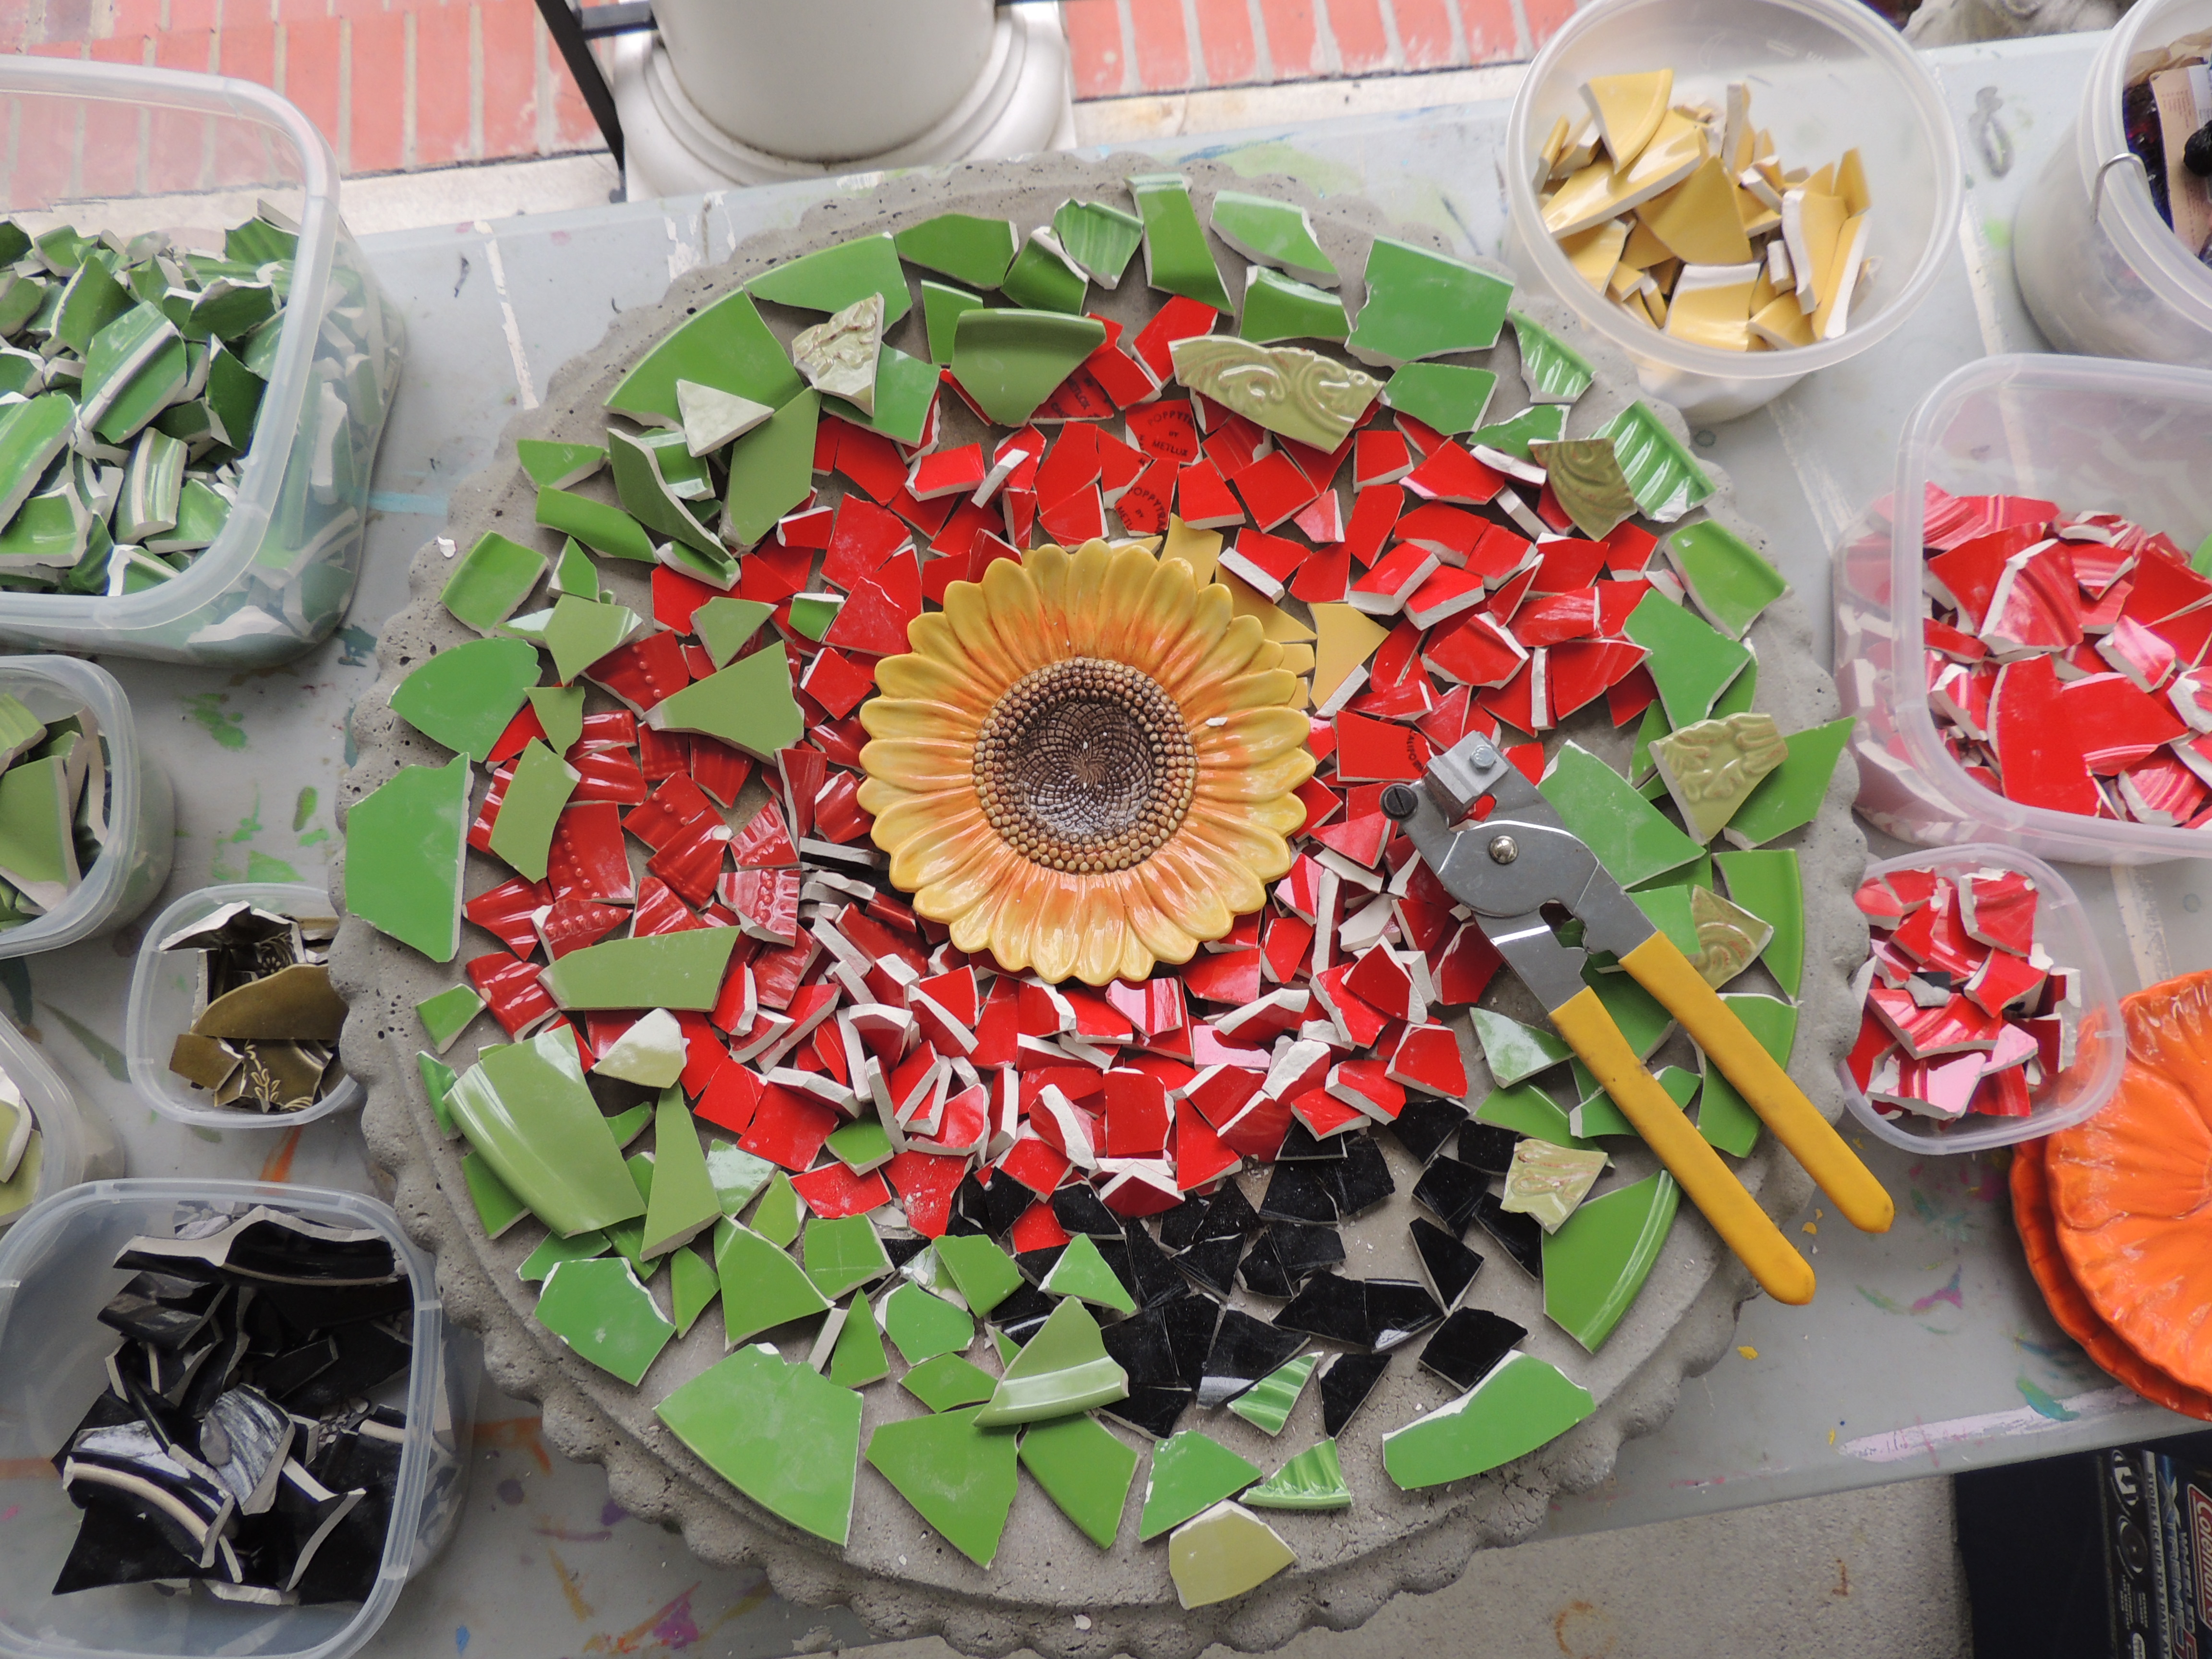
Next arrange the tiles onto the surface to be sure you have enough. You can always cut more if needed, as you go.

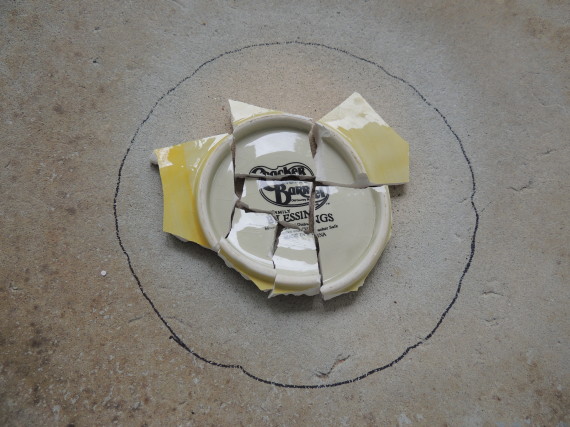
I wanted the sunflower plate to be the center of my poppy . Once I had broken it to pieces it was difficult to put it back together …but by turning it over, I could match the markings on the back of the plate, then tape the whole thing and flip it over in place…then remove tape. If you have a plate you want to put back together after it’s broken, you may want to consider writing something on the backside that you can put back together this way.
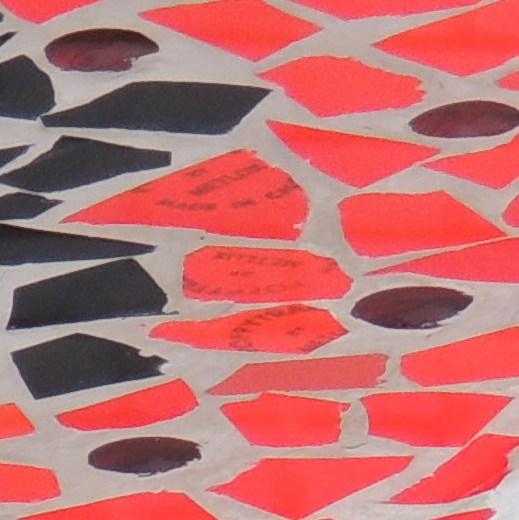
Next glue each tile in place. I used a glue that was for ceramics and cement. It is only necessary to secure the tiles in place while you grout. For interest I turned several pieces over so that the pattern name could be read in the mosaic. Here you can read that my red plates were made by Metlox of California and pattern name is Poppy Trail. It’s hard to find pretty red plates…BTW

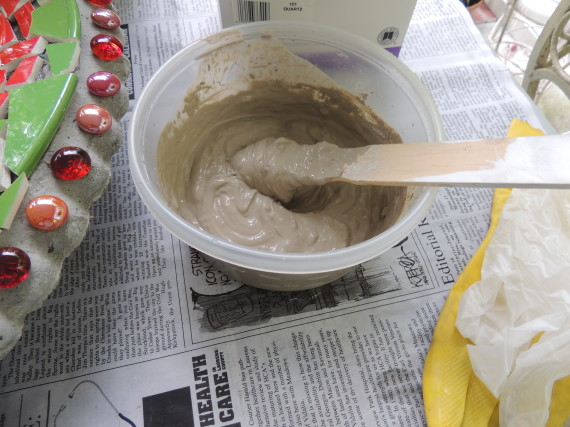
After the tiles have dried over night you can mix your grout. To begin you will need grout. I use sanded grout because we are going to leave this outside. Paper towels, sponge, water, rubber gloves, paint stirrer, cloth, and disposable containers. Fill one container with water to rinse sponge in as you work.
Measure about 2 cups of dry grout into a disposable bowl. Add water and stir until the consistency of peanut butter. Allow to sit about 10 minutes. It will continue to thicken. You may add more water or more grout to get the consistency you need. You don’t want it to be too watery.
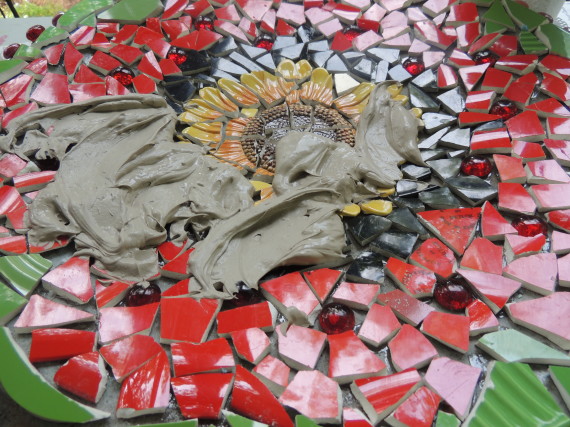
Begin by spooning out grout onto your project. Spread with paint stirrer or stiff cardboard until all the cracks are filled. Remove excess grout and place back into bowl or grout to re-use. You have to work fairly quickly if you are outdoors, as I was. The grout will dry fast..but you still have time, so don’t worry but DO work! Don’t leave and go to lunch or anything…just saying… 🙂
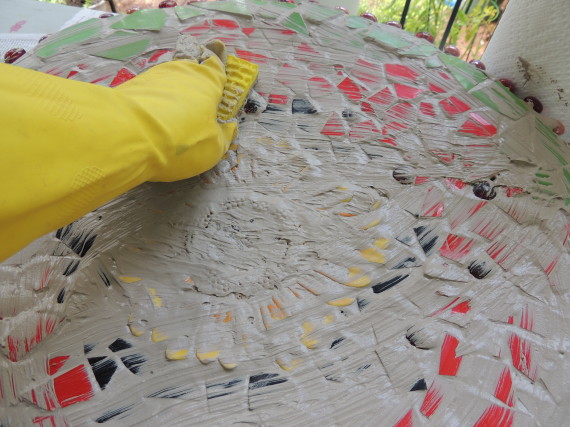
Continue to remove excess grout using paper towels and barely dampened sponge, until tiles are practically clean. Allow to dry for 10 minutes or so until a haze forms. Buff each tile with a clean dry cloth until all haze it removed.
Allow to dry over night. In the morning you may need to do a little more polishing with dry cloth. I used a paint can opener to chip off grout that I missed yesterday. It’s not hard to do.
At this point, I turned my birdbath over and tiled and grouted the underside.

Two things I did for the backside. I measured an area near the center of the bottom and left it empty so the top would sit properly on the birdbath stand. Then, along the edges of the bath I placed the smooth edges of the plates so that when the guys picked up the birdbath they would not cut their hands on the sharp tiles. I did this on the top and the bottom.
Allow the grout to dry and cure for 48 hours. Sealed the mosaic with 3 coats of outdoor tile sealer. Allow sealer to dry over night.
The next day, I could hardly wait….I placed the birdbath in my flowerbed and filled with water! I hope to enjoy this Pretty Poppy for many years to come…


6 Comments
Thank you for taking time to go thru the detailed instructions for the mosaic bird bath! I am going to do as you suggested and do a pot first then tackle the bird bath! Can’t wait to try!
August 31, 2013 at 7:19 pmLove your blog!!! Excellent job! Libby
Hi Libby! The birdbath I did two years ago was hard…but I think using larger pieces made it easier this time…My main hold-up was all the rain…and humidity. I just didn’t want to go outside to work on it…:) Thanks…..you can do this…love~
August 31, 2013 at 8:39 pmFor items that you plan to use outdoors, especially ones intended for bird baths, sanded grout is needed.
January 23, 2020 at 12:17 pmWhere did you find the simple top to your bird bath? I’ve been looking but they all seem so complicated and I don’t want to mosaic something with a ton of ridges. This birdbath is beautiful. You got the base at Home Depot? I’ll have to look there soon. Thank you!!
January 28, 2021 at 1:20 amThis is something New !
January 30, 2021 at 4:08 pmCould you please tell me, where in home depot did you find the base? Thank you.
February 4, 2021 at 10:17 pm