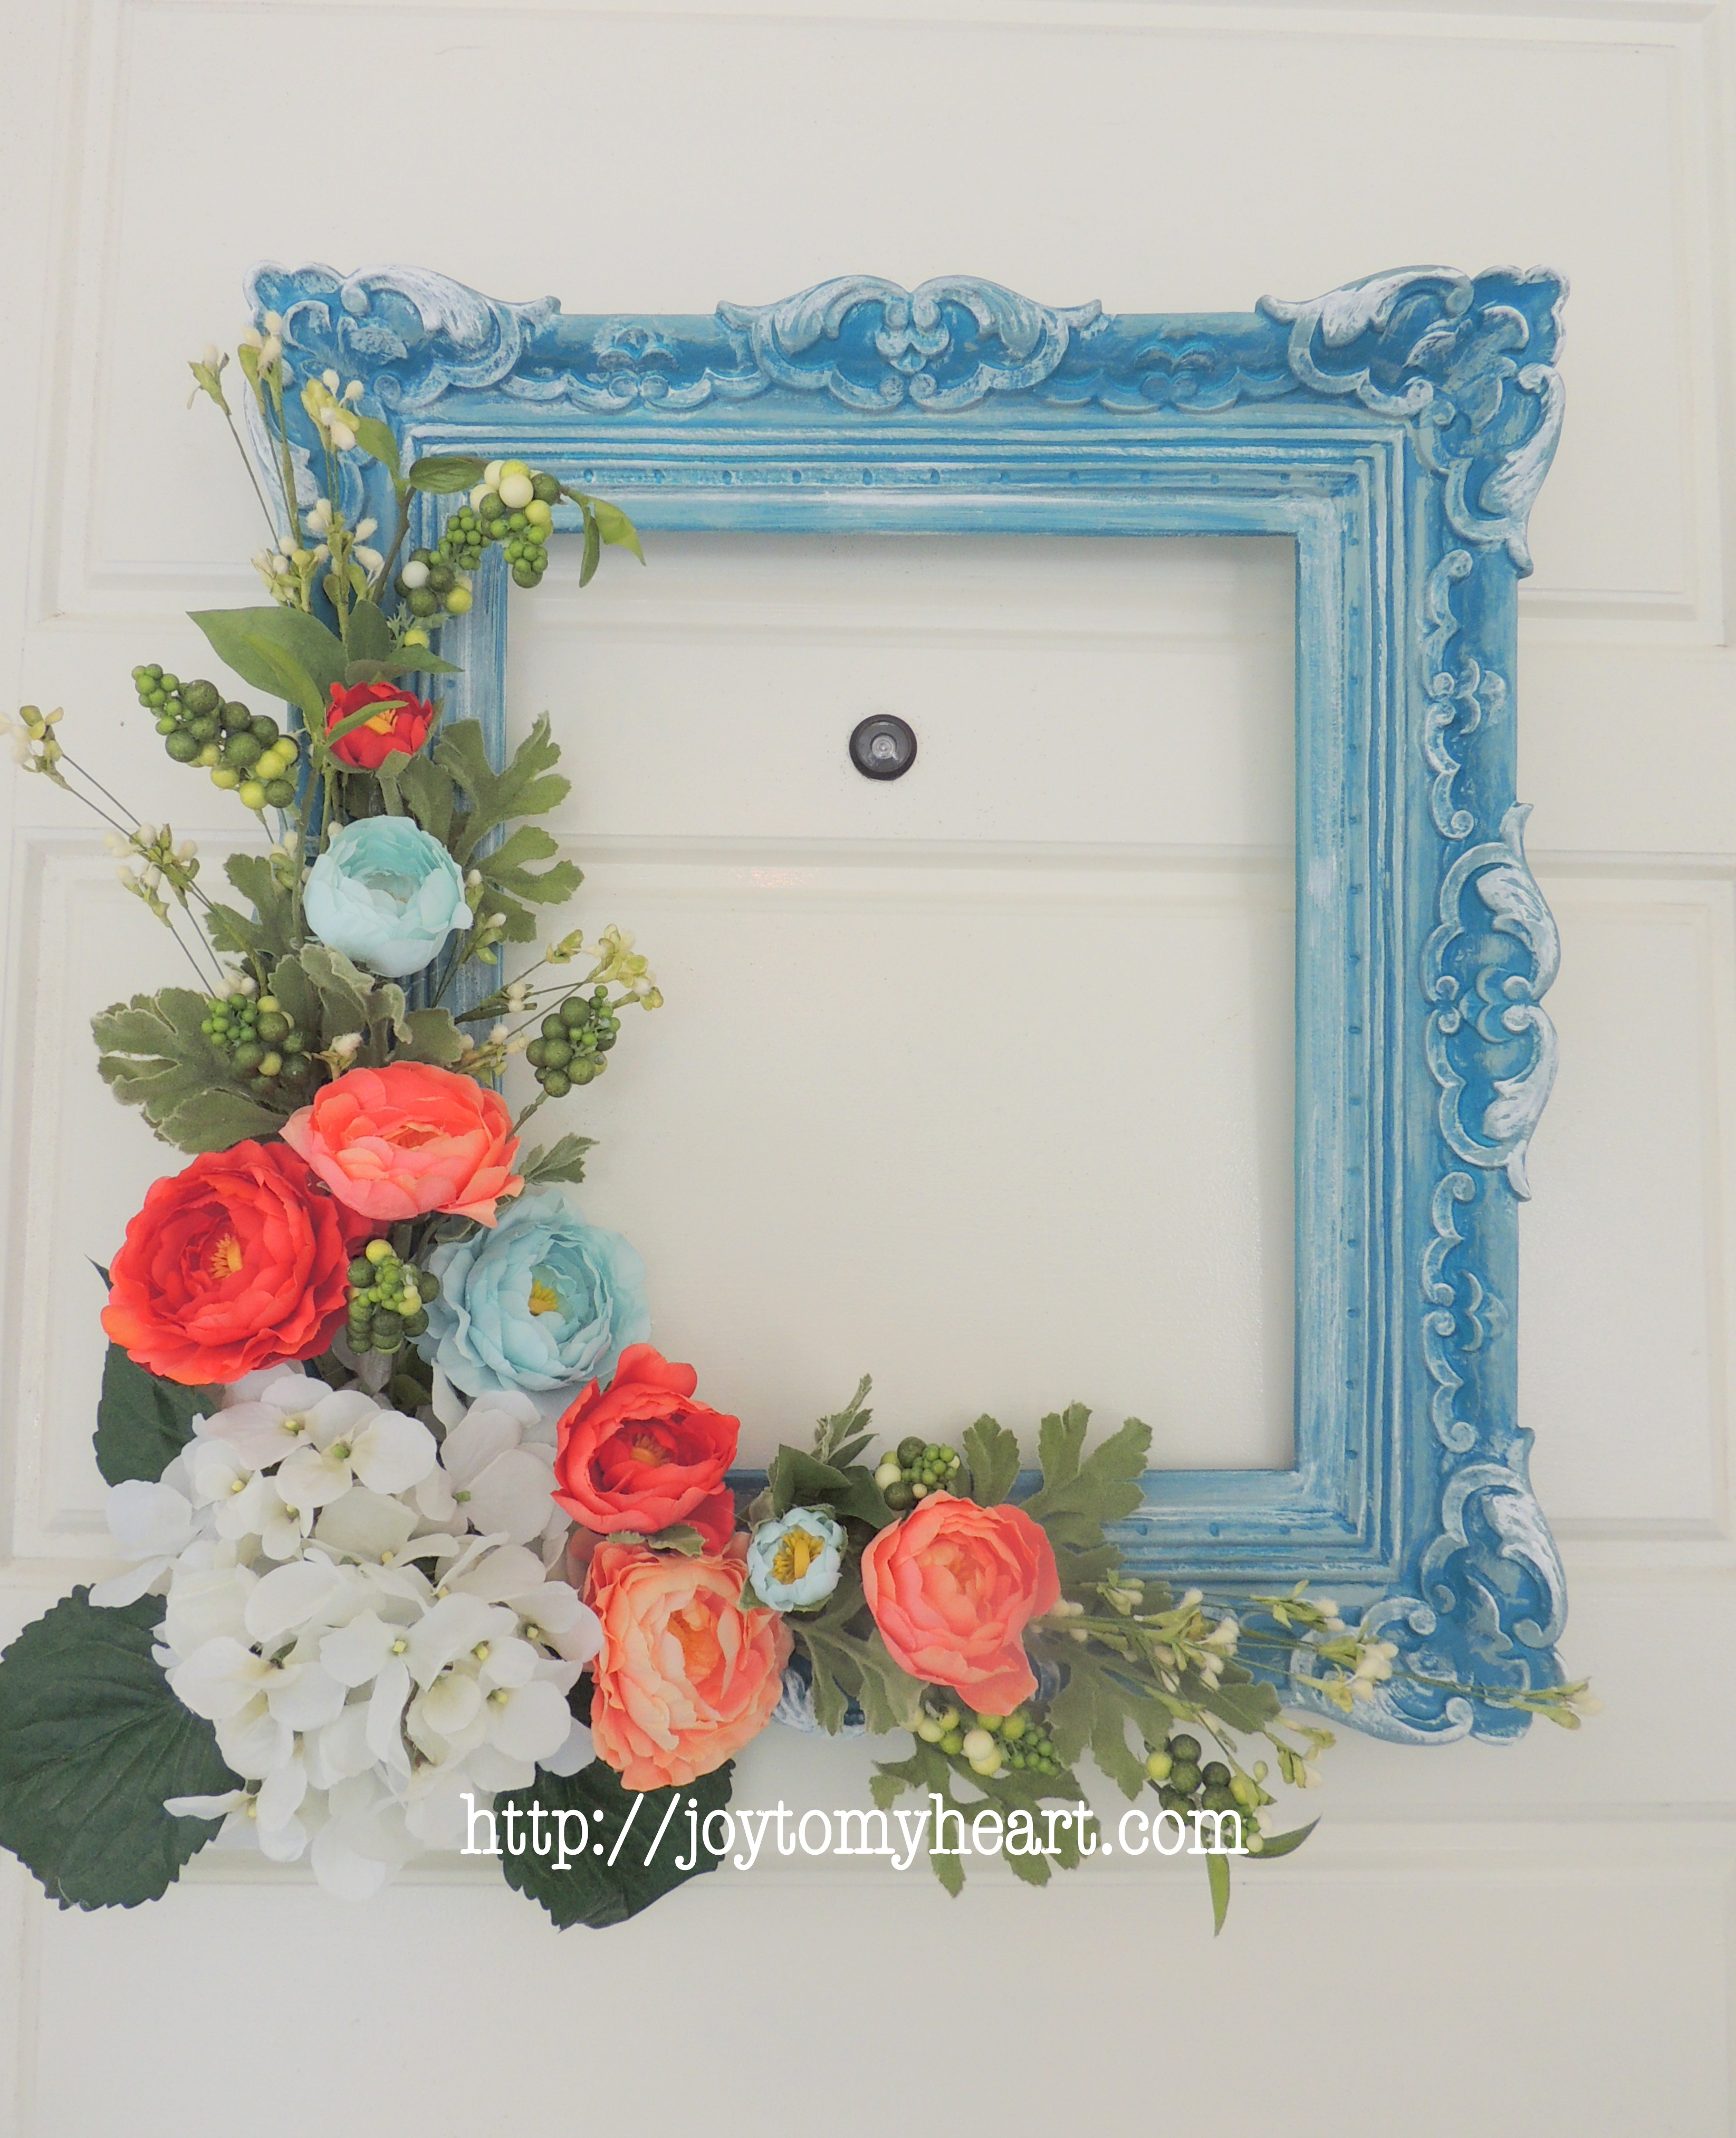
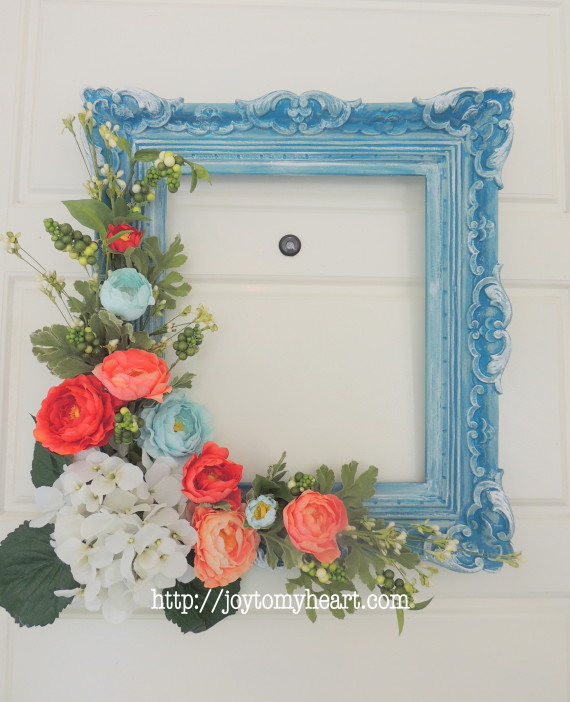
I’ve been on a wreath making binge lately. In the past few weeks I’ve made 9 wreaths with several more planned for next week. It’s hard for me to choose my favorite wreath. I love all of them. But today I made my most favorite wreath of all….using a picture frame I picked up at Salvation Army!
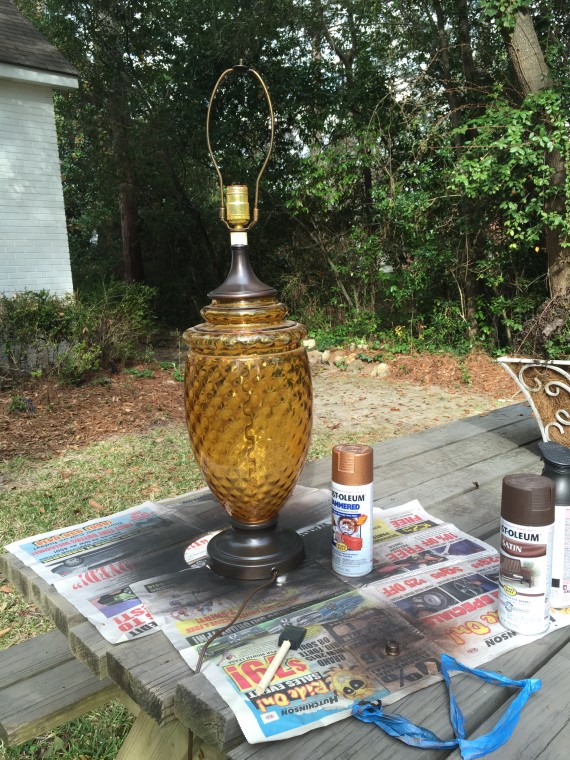
I love finding treasures in thrift shops. Like the amber lamp I found and gave to a friend that matched her brown dining room…the one I mentioned earlier this week in the Trash to Treasure Lamp Makeover.
This lamp was only $3.00!!! I couldn’t use it myself, but I also couldn’t leave it behind. I called my friend, who was thrilled to have it. Here, I had just painted the metal parts an oil rubbed bronze color, for her.
While finding a treasure is fun…what I like even more is the challenge of making something out of something that has seen better days. Trash to Treasure gets my artistic juices flowing. That’s just what happened when I visited The Salvation Army a few weeks ago. That’s where I found this old picture frame.
Now, it didn’t look like this when I found it! It was a cream color, that had yellowed, badly. I forgot to take a before picture….
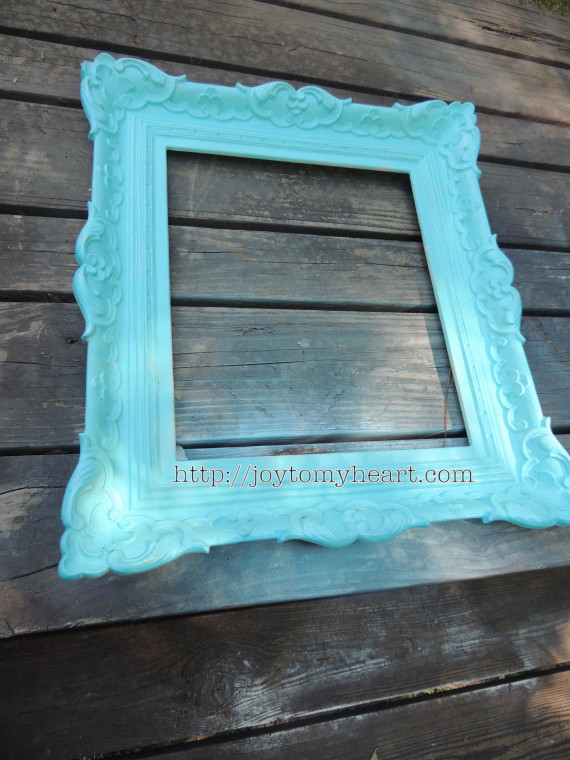
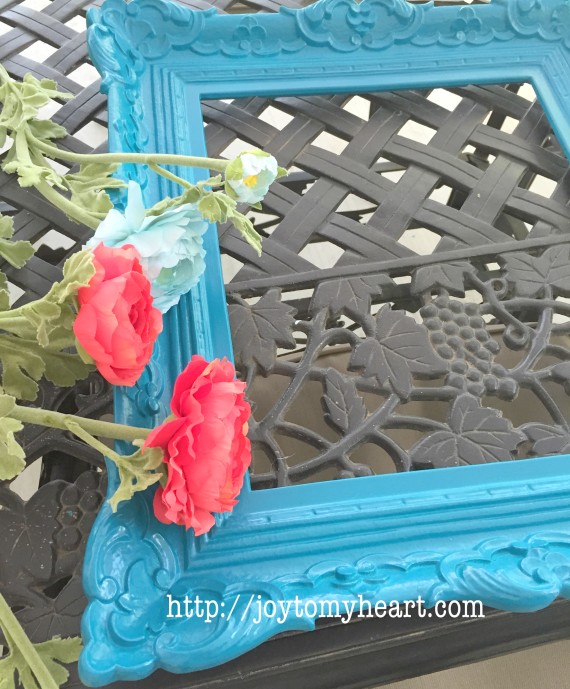
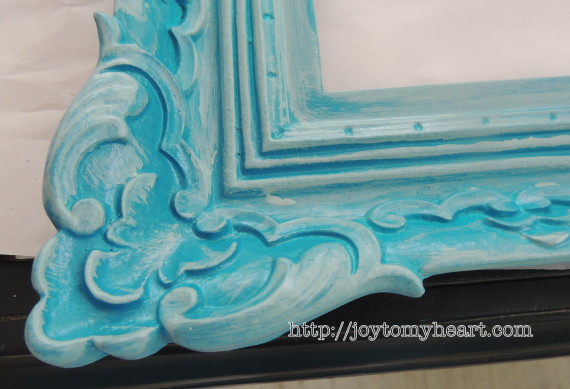
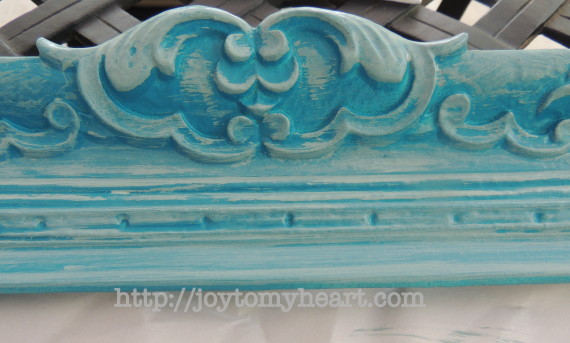
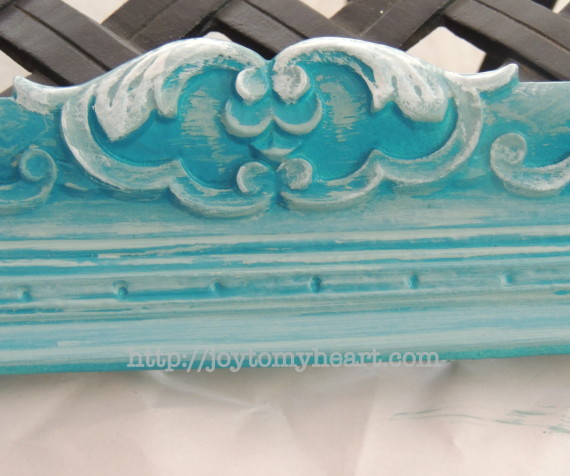
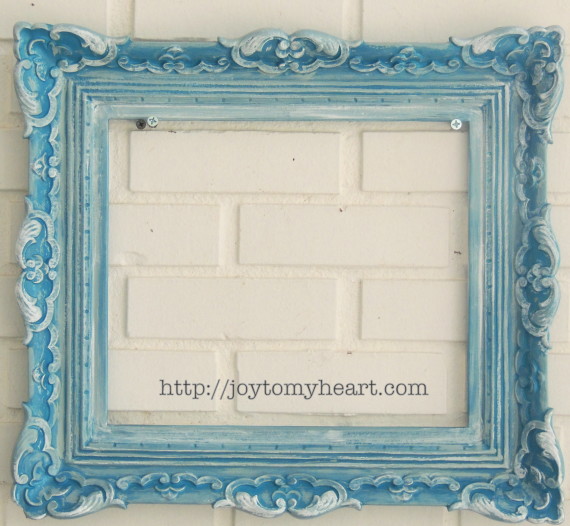
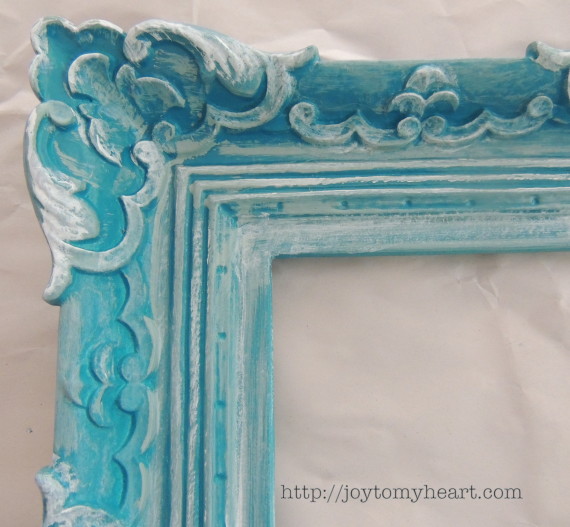
I painted it light turquoise (above) to match my daughter’s dining room, but ended up painting it a darker turquoise and adding highlights, so the details of the frame could better be featured.
These highlights were made with the same paint I used on her lamps. The highlights are a dusty Aqua.
Once I finished that, I added white highlights to accent the detail even more.
I love this frame!
For this DIY Picture Frame Wreath project you will need:
Frame of choice
Paints of choice: craft, spray or latex paints or a combo
Sponge brush or paint brush or both
Flowers choice
Hot glue gun
Bow/Ribbon is optional
Find a frame as ornate as you like. If you prefer a plain frame, that works, too. And then paint it. I spray painted this one, but you could easily paint with craft paint or leftover latex paint.
There are a couple things to decide. If you’d like the details to be featured as light, then go with a darker paint overall. If you’d like the details to be darker then start with a lighter paint. I wanted my highlights to be light, so I painted over the lighter turquoise with a darker turquoise.
After it dries, you will want a lighter (or darker if frame is light) color paint to add highlights to show off the detail of your lamp. Or if your lamp is plain it will distress the frame to give it character. If you mess up…it’s just paint. Do it over.
I added white on top of that because there is so much to show off and accent on this frame.
Next gather flowers. I found these silk flowers at Hobby Lobby and Michaels. But I have found nice flowers at Walmart and even the Dollar Tree. You just have to be selective.
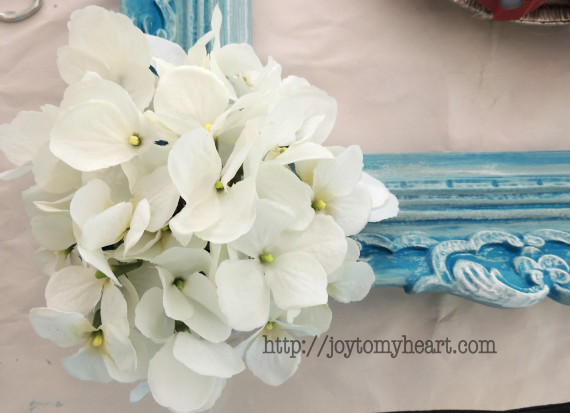
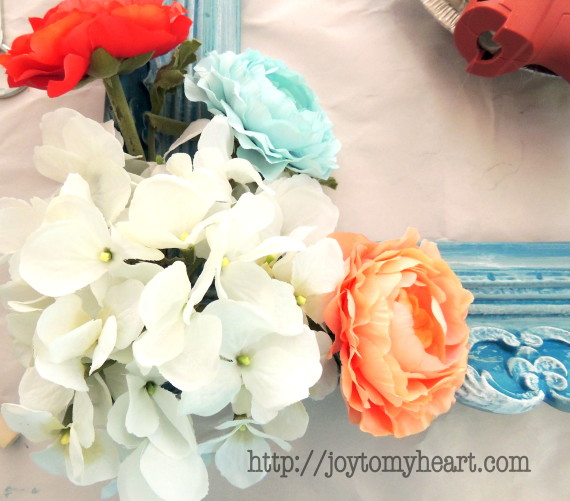
I use a hot glue gun and I start in the corner with a Hydrangea. That’s where to start arranging your flowers. Cut the stems close to begin…but longer as you go up the frame. And give them space to show off. In other words don;t cram them all so close together you can’t tell them apart.
Next add other colored flowers, spacing them along the frame.
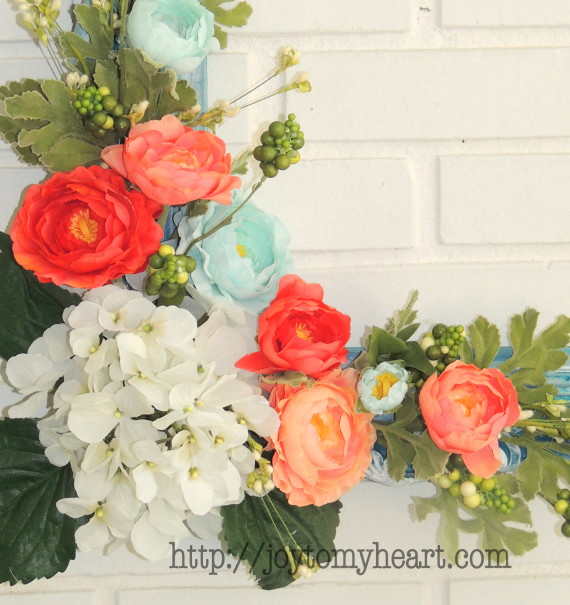
Keep adding flowers until you’re happy with the design.
I added some berries and tiny flowers for filler.
Don’t forget to add leaves in the background.
…easy as pie.
After you have everything glued into place, you may consider adding a bow to the bottom…or a ribbon to the top, to hang it by.
It turned out so pretty, we’re considering using it in a bedroom or living room.
Have fun!

