My daughter moved into a house that backs up to mine…I’m so happy to have her near by, not to mention that my grandchildren are next door…how blessed can a Grandmother be?…but I think I’ve said all of this before...I’m so happy!!!
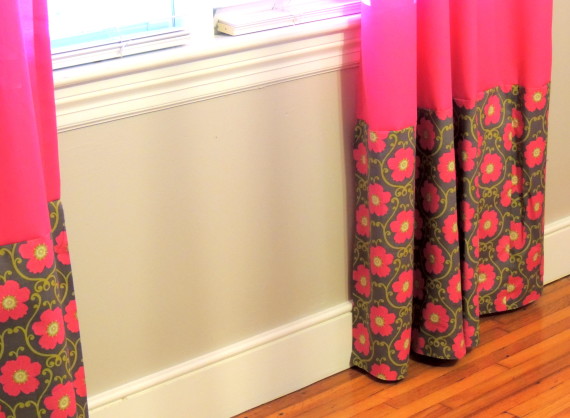
After they moved in, we were hanging curtains in my granddaughter’s room and realized the curtains that worked in the other house weren’t long enough in this one. I assured them it would be an easy curtain makeover. All that I needed was to add some fabric to the bottom.
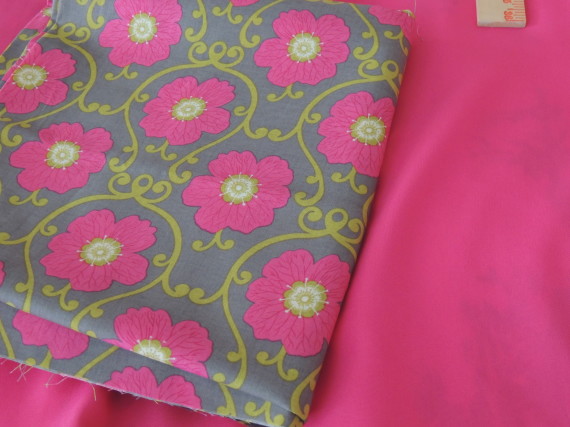
Her curtains are hot pink. I found the perfect floral fabric at Hobby Lobby to match! The room is accented with the lime green scrolls in her bed skirt that matches the scrolly print. The walls are a pale-pale gray so the background goes nicely with that! It is perfect.
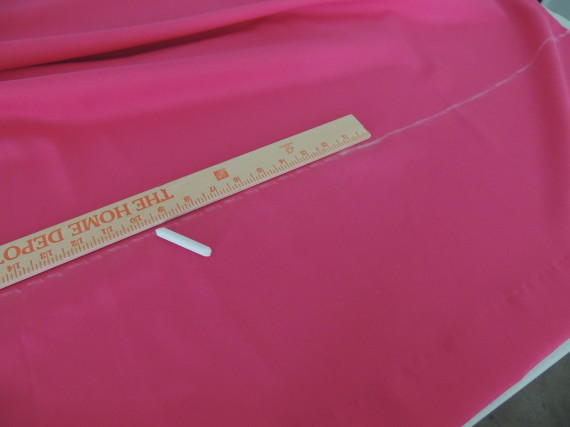
The first thing I had to do was to decide how long to make the addition. The curtains were 10 inches too short but I decide I needed to make the addition 20 inches. The first thing I did was to lay out the curtain on a table and measure from the bottom edge of the hem up 19 inches, and mark it. I left one inch for a seam allowance. This will be my cut line. Then I drew a line across the curtain with chalk. After the line was drawn, I cut all the way across. I did this to each curtain.
I cut 4 sections of the floral fabric, 22 inches long and the whole width of the fabric. That gave me an inch for the seam allowance and an inch for the hem. Then I check the width of my curtain against the width of my fabric and found I had to add 5 inches on each side of the fabric to make them wide enough. You will also need to be sure…. before you cut.…that all of the new fabric is cut with the design going in the same direction. You don’t want to have a curtain with flowers upside down or sideways…. I almost did that!!!
I prefer to go ahead and press the edges folded back before sewing.
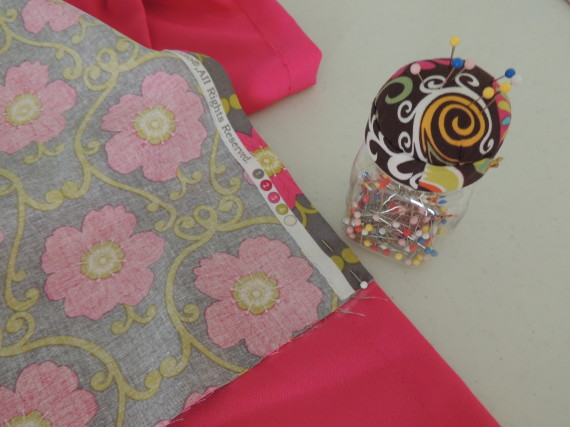
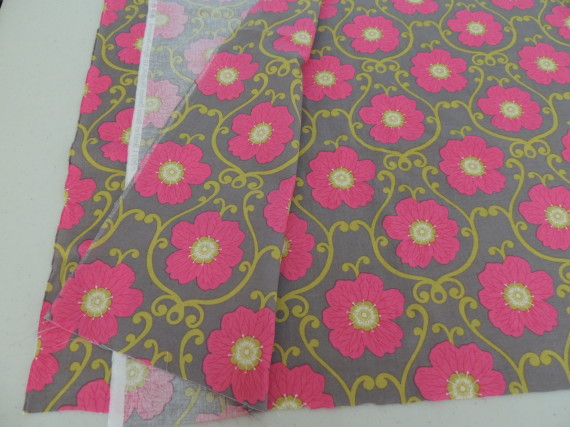
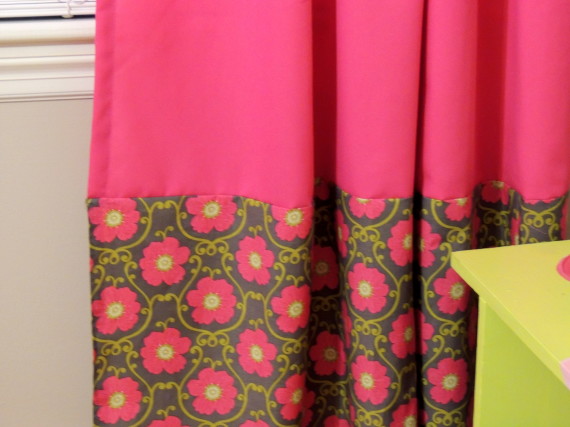
Next, pin the fabric to the curtain with the right sides together, checking to be sure the fabric design is turned the right direction. Check twice…just to be sure. ( I usually check more than twice…;) I decided that the design on my fabric was ‘right’ with the design being in the shape of a keyhole. Do you see that? You want to be sure all lengths are cut going the same direction. Usually, it matters.
Do you see the keyhole pattern in the above photo? Compare this to the first photo, above, where the design is upside down. It matters!
After my fabric was pinned together I stitched in all the way across on the sewing machine. You can use iron on bonding tape. I used the bonding tape along the sides. I ironed the folded edge down first and then went back with the tape. and ironed it down, too. I used the bonding tape for the hem, also.
See the scrolls in the throw pillows? ~ and they are also in the bedskirt and pillow shams…
It’s such an easy curtain makeover….Even if you just want to add a little interest or update a pair of curtains, just go for it!
Hannah loves how they turned out…. I do, too!




8 Comments
I love the bottom accent!
November 15, 2013 at 4:07 pmThank you! It was super simple! thanks for commenting~ ng
November 15, 2013 at 5:57 pmVery pretty! Great job, I love the color combo!
November 16, 2013 at 9:58 pmThank You, Amber. It’s much prettier in person. My camera couldn’t capture…or I couldn’t, the true colors… but, yes they are great together.
November 16, 2013 at 11:34 pmThe curtains are SO lovely! It’s such a great idea to help make things last longer. I’ve made a lot of curtains through the years. Sure saves $$~! I’d sure love it if my grandbaby lived right by me! 🙂
November 18, 2013 at 4:01 pmIt is so nice to have them nearby…like today~ I picked up the girls, took them home and started supper for their mom who had to take her son to the doctor……now I’m home about to start on mine..;) Thanks…about the curtains…
November 18, 2013 at 5:51 pmWow, those look great! The fabrics look wonderful together.
November 18, 2013 at 4:06 pmThank you, Lisa! I like it so much I just asked my Daughter-in-love to pick up some more fabric so I can make throw pillows…like she needs more throw pillows…;)
November 18, 2013 at 5:48 pm